How to Declutter and Organize Your Cloud Files
Believe it or not, every physical document my husband and I own fits into a single zipper pouch. Everything else has been scanned, uploaded to the cloud, and recycled. Having my files digitized is incredibly freeing; whether I’m at home or traveling, my system is safe, accessible, and searchable.
If tech feels intimidating, remember: I once taught a 70-year-old client how to manage her files in the cloud. If she can master it, you can too. Whether you’re a tech-savvy pro or a total beginner, this guide will help you understand the essentials of cloud storage. I’ll focus on Google Drive, but these principles apply to Apple’s iCloud or Dropbox as well.
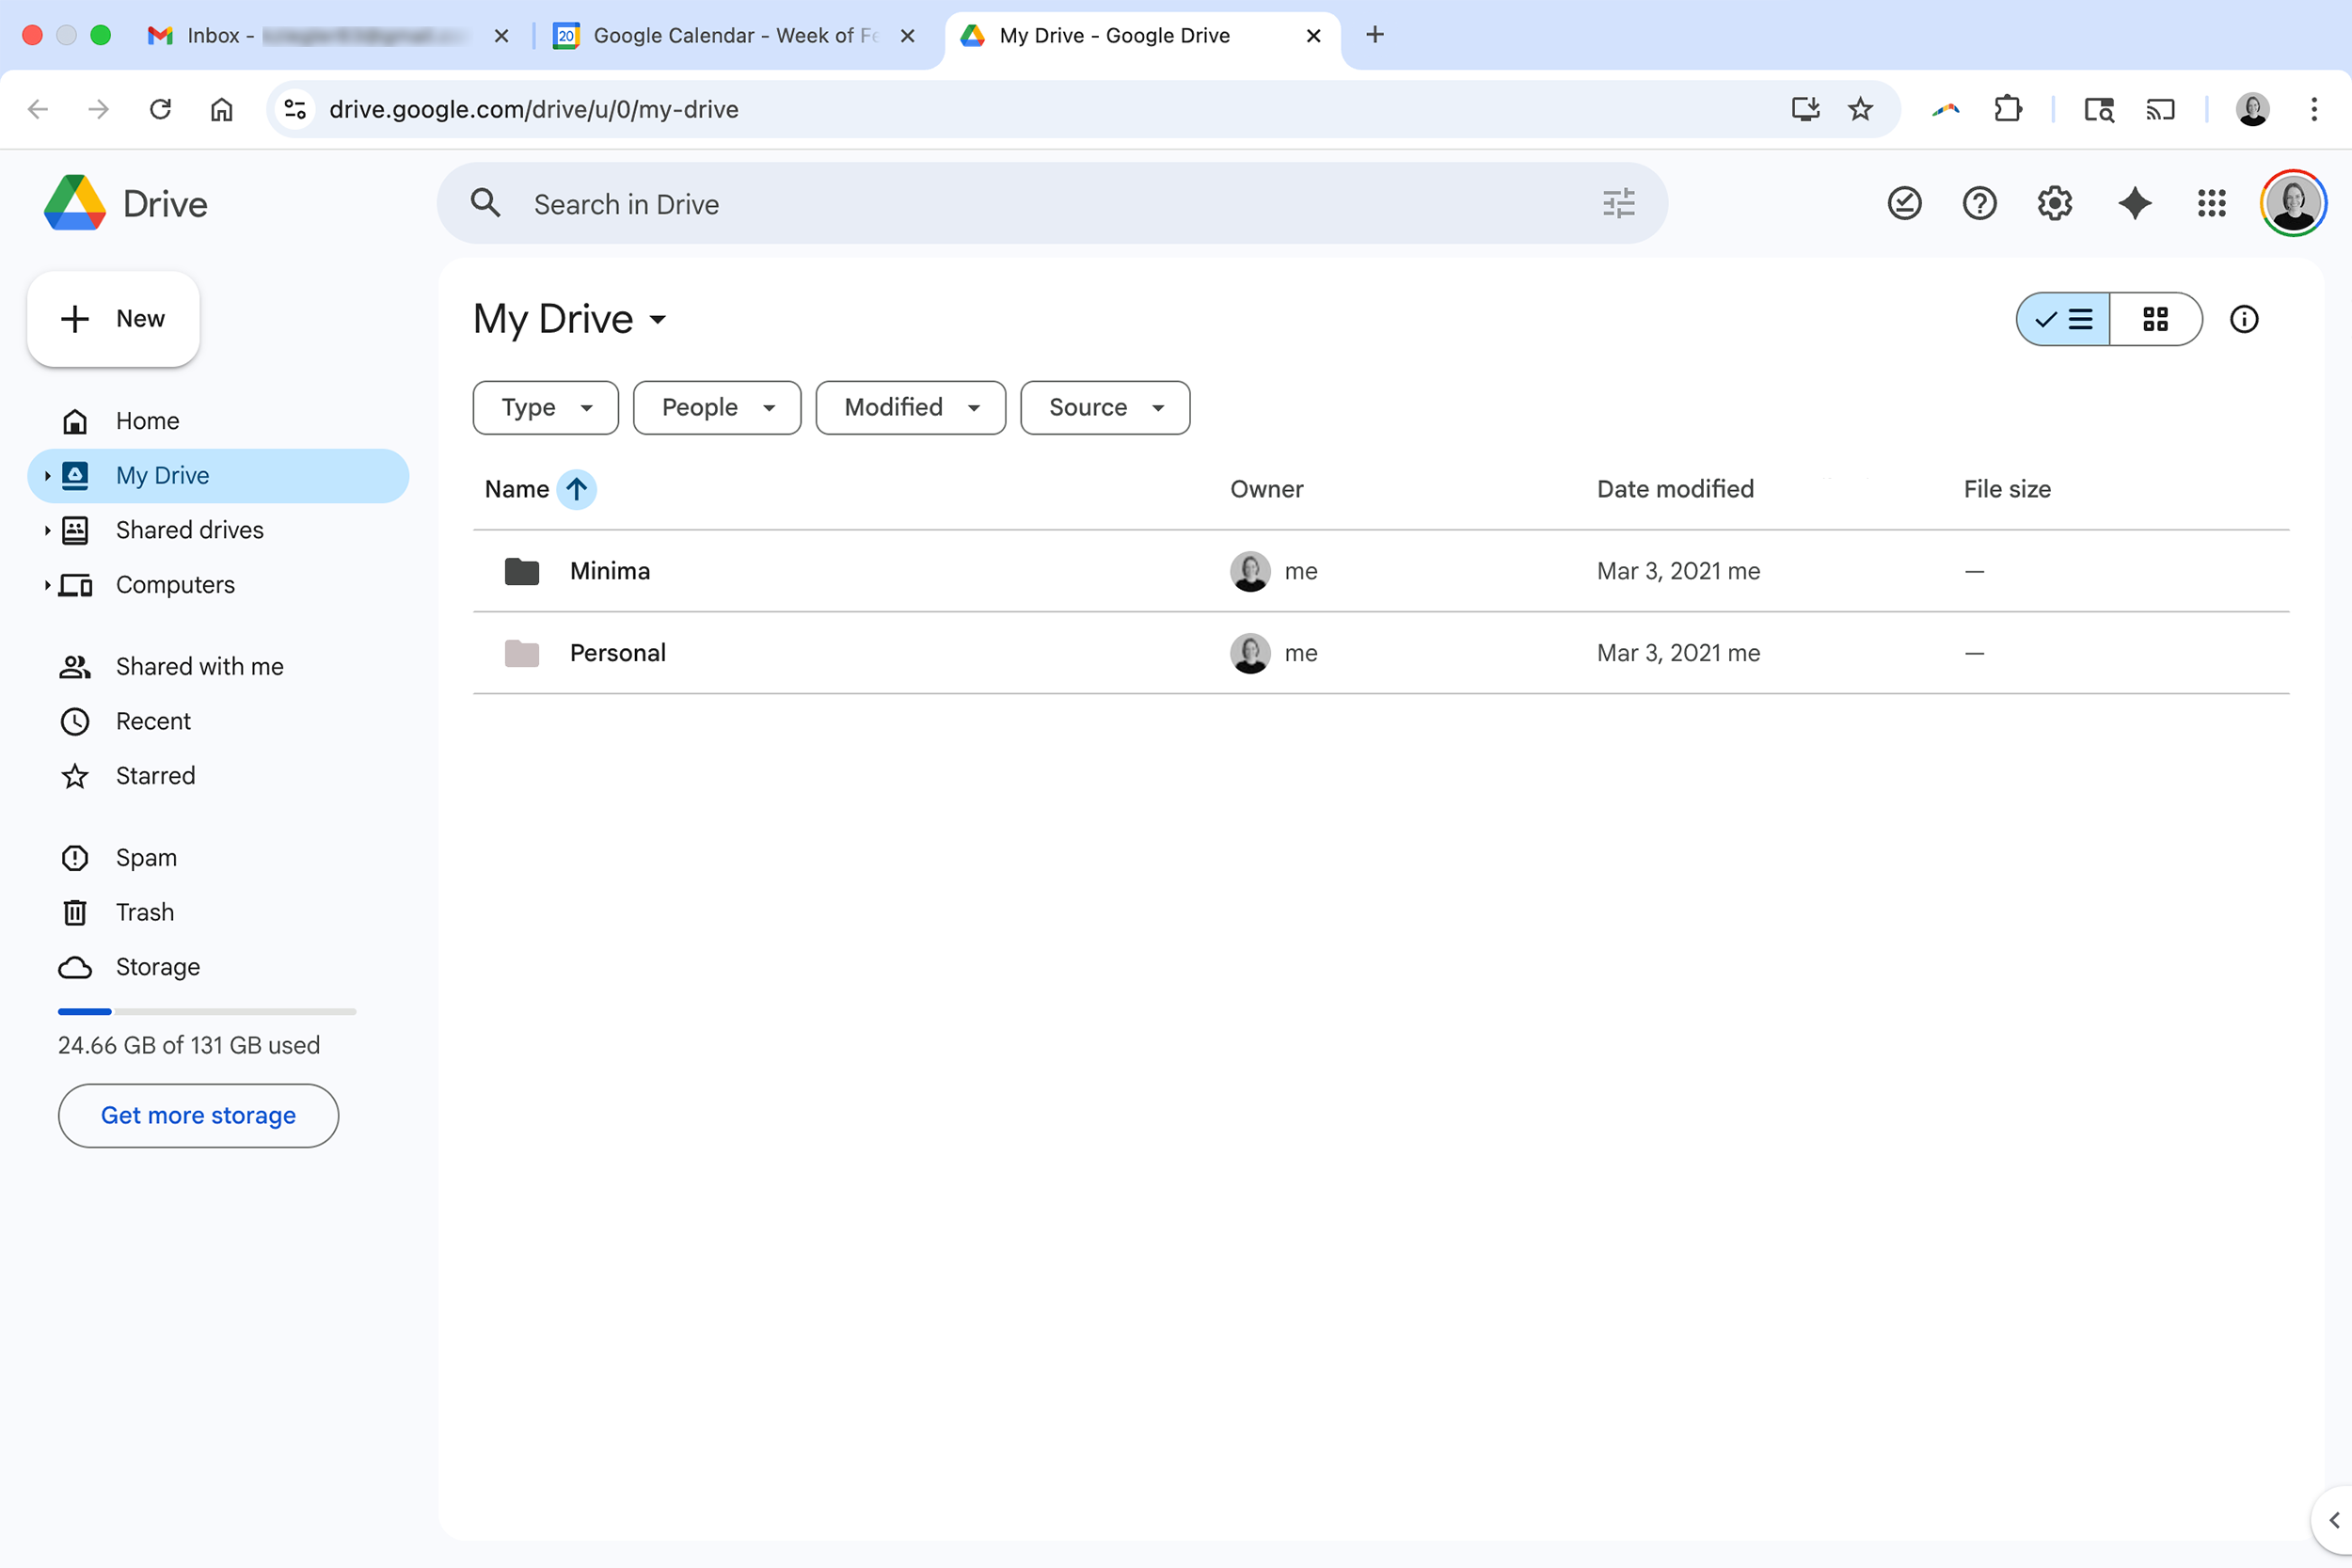
My home page view in Google Drive
Integrate digital and paper
If you have a mix of digital files and physical paperwork, start with the digital files to build momentum. If you are starting primarily with paper, declutter and organize your physical system first, then translate that proven structure to the cloud. For more, check out “Tips on How to Organize Paperwork from a Pro.”
Pick your digital home
Select one platform for your data and stick to it. When working with virtual clients, I often see files scattered across desktops, Google Drive, and iCloud. For my personal and business files, Google Drive is the best fit. It’s inexpensive ($1.99/mo for 100GB+), and it integrates seamlessly with my Gmail and Google Calendar. I keep all three open in my browser at all times for a simplified, all-in-one view.
To keep this system streamlined, I create most files natively in Google Docs or Sheets and choose not to sync Drive to my desktop to avoid version-control issues. There are two intentional exceptions to my “everything in Google Drive” rule: I keep active Adobe Illustrator and Photoshop files on my desktop since they cannot be edited in-browser, and I use Apple Notes for quick, on-the-go lists.
This guide focuses on documents; for photos, see “How to Organize Your Digital Photos.”
Build your folder structure
Keep your structure as simple as possible. My main folders are just Minima and Personal. Don’t get hung up on perfect subfolders at the start. Begin with a few high-level categories.
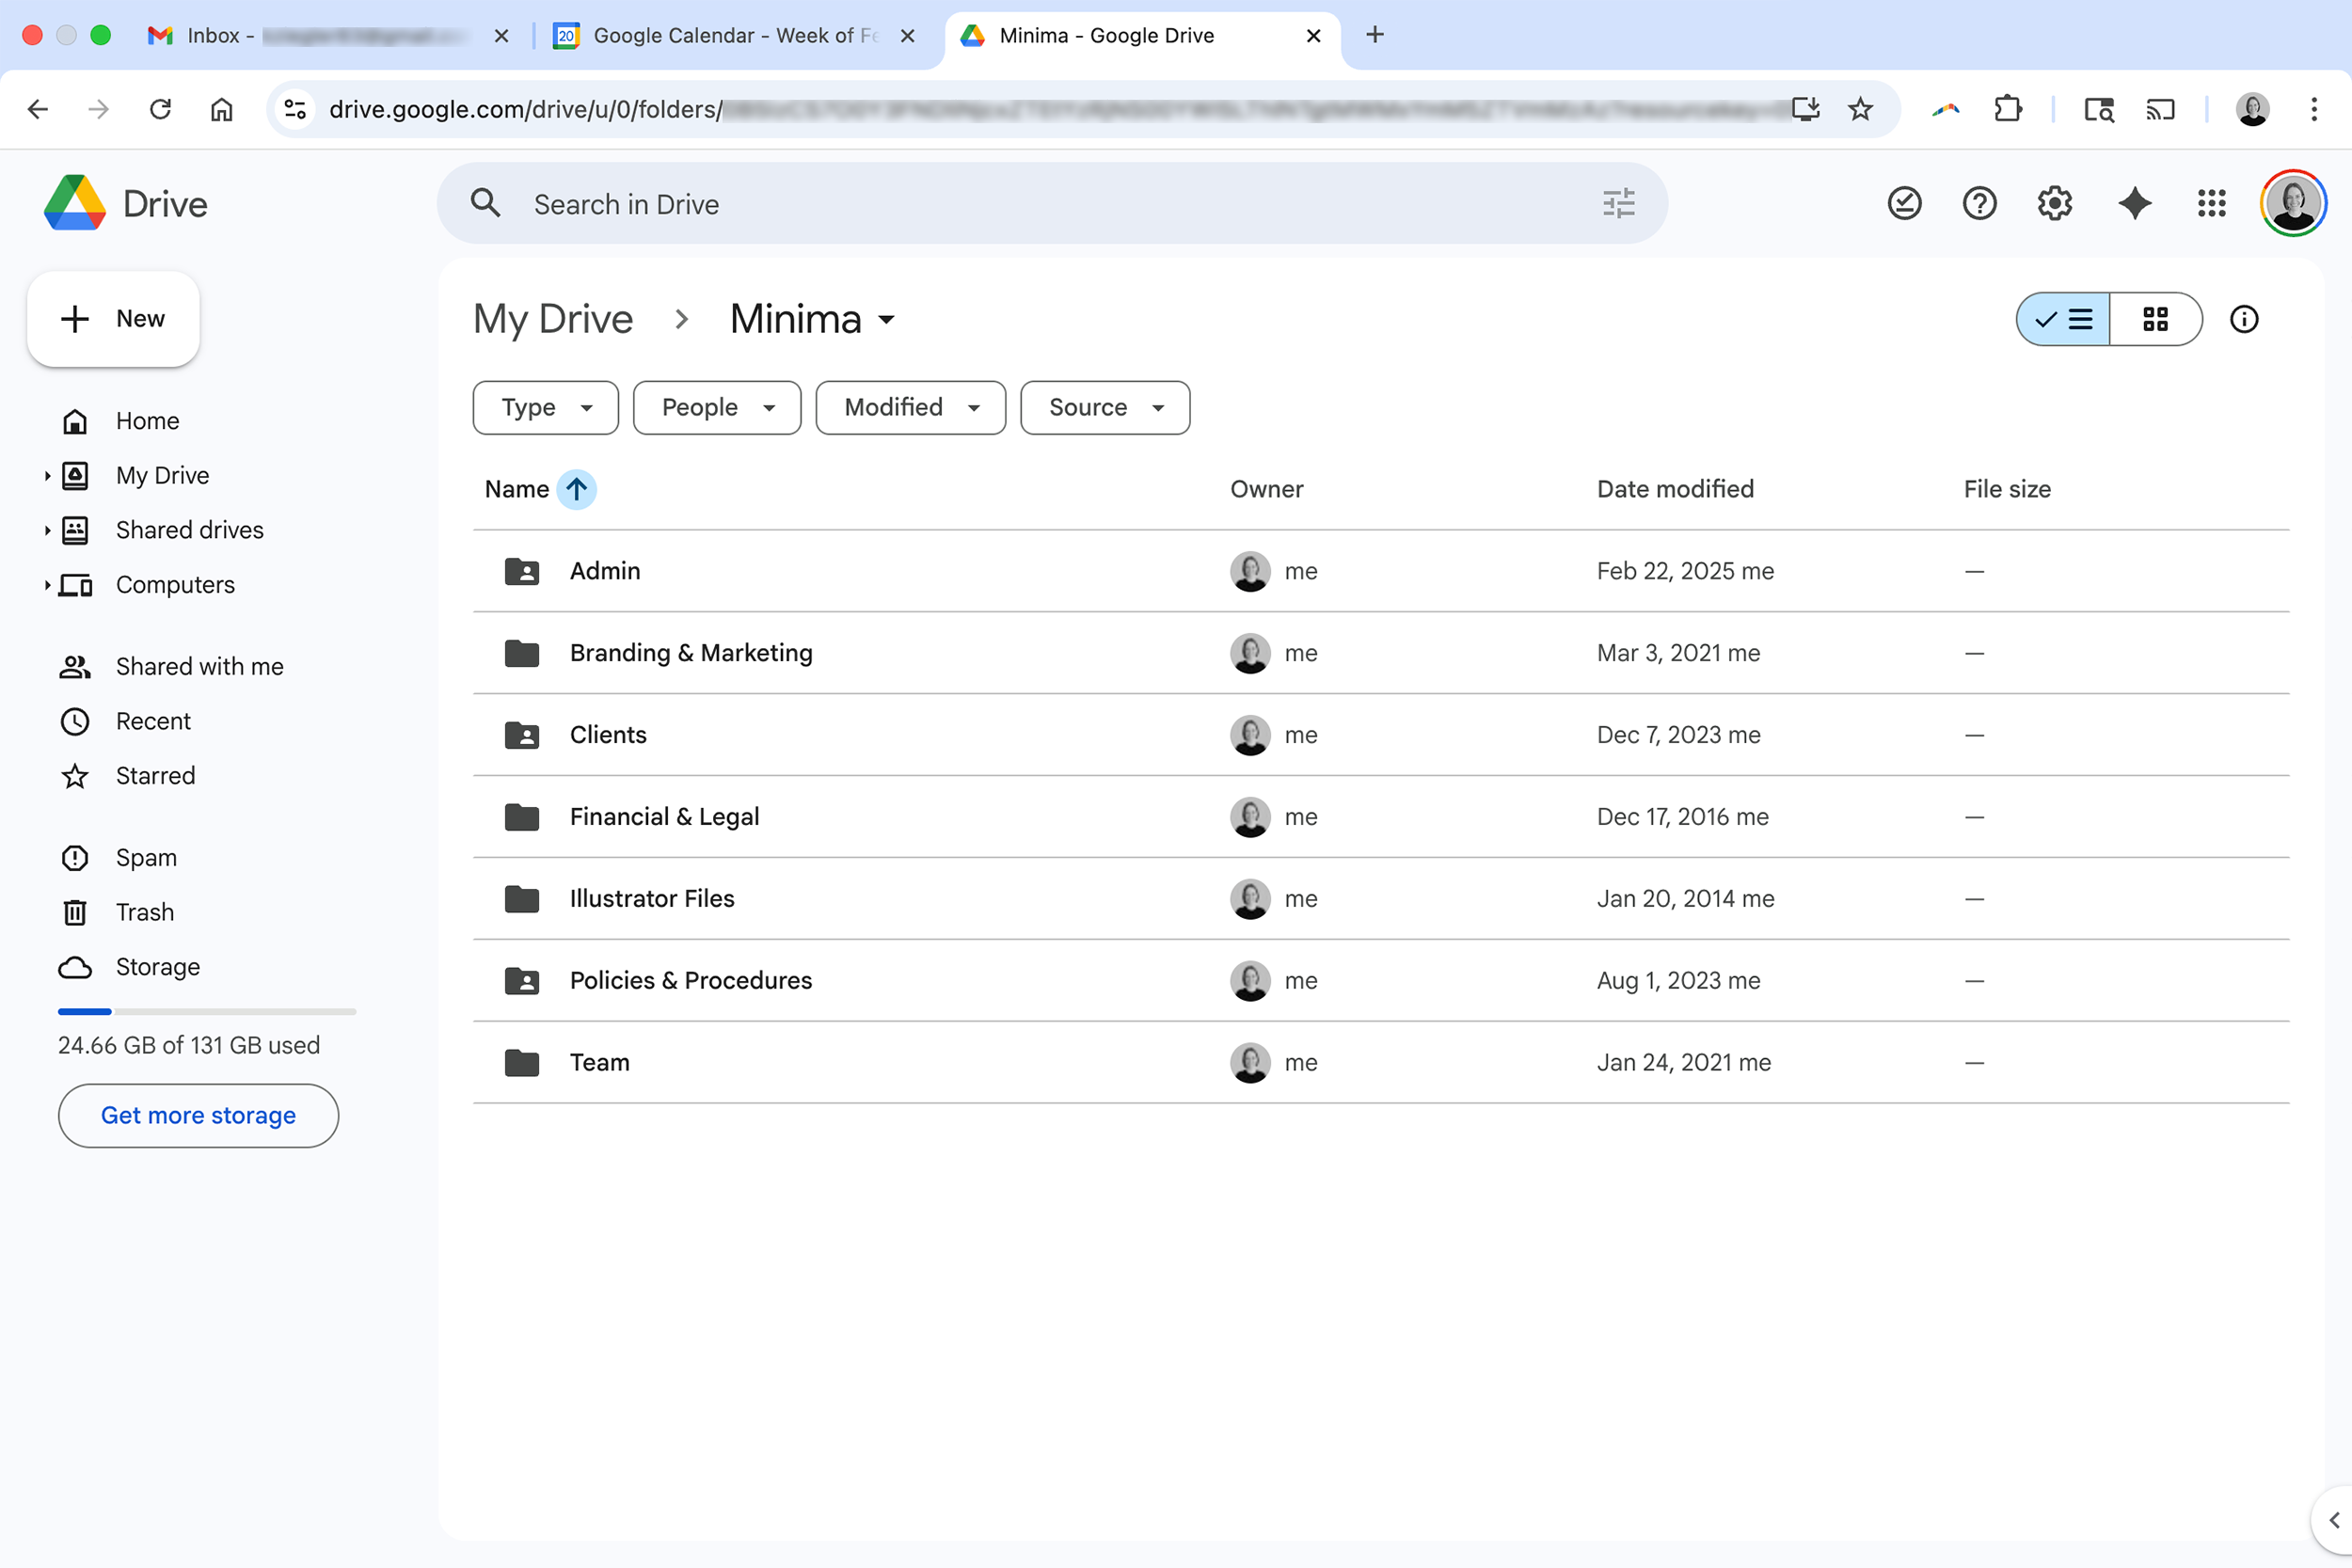
Subfolders within my Minima folder
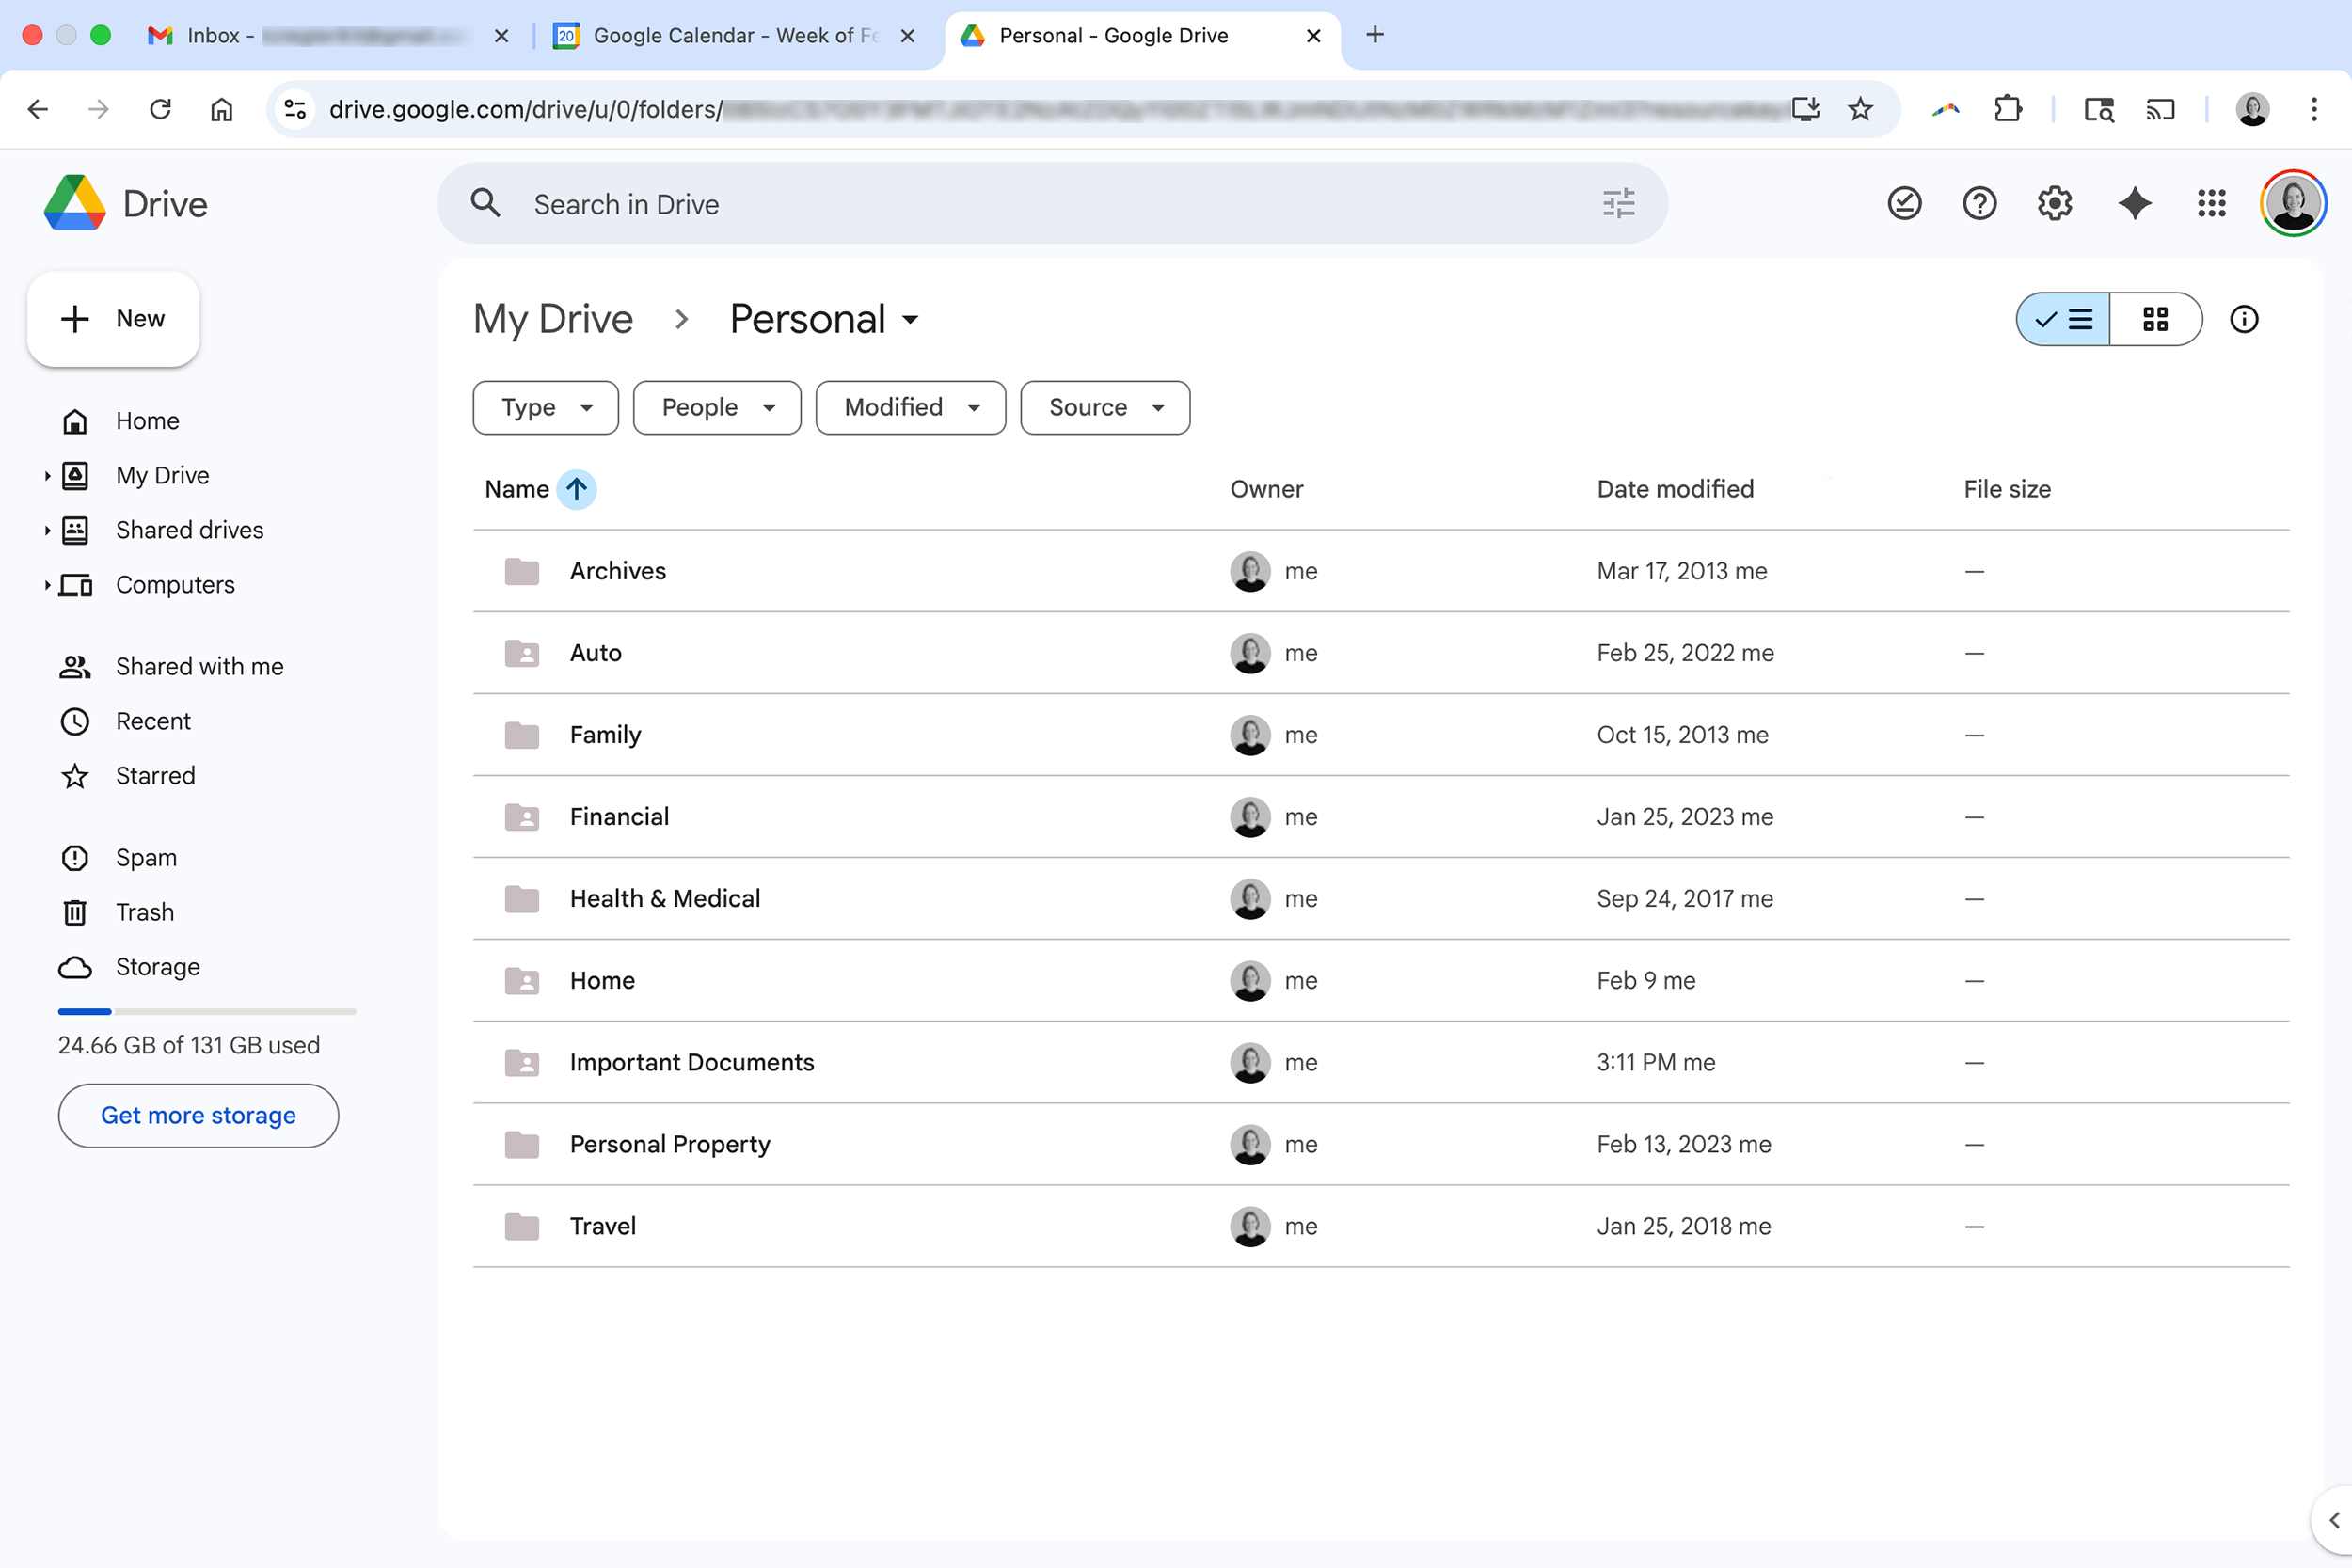
Subfolders within my Personal folder
Once your documents are in folders, it is much easier to spot duplicates and clutter. Like organizing a closet, you must see the like items together before you can effectively thin them out. Sort by date and start by deleting the low-hanging fruit—the oldest files you no longer need.
Streamline your file names
Consistency makes your system feel automatic. I use Title Case for folders and lowercase for files to keep the aesthetic visually calming. The key is to choose a logic and stick to it.
For example, I name all client action plans as action plan firstname lastname (e.g., action plan anna smith). I never swap the order. If a date is vital—like a business receipt—I use YYYY MM DD description.pdf (e.g., 2026 01 29 google.pdf). This system makes tax season a breeze; I can pull a full year of reports for my CPA in under an hour.
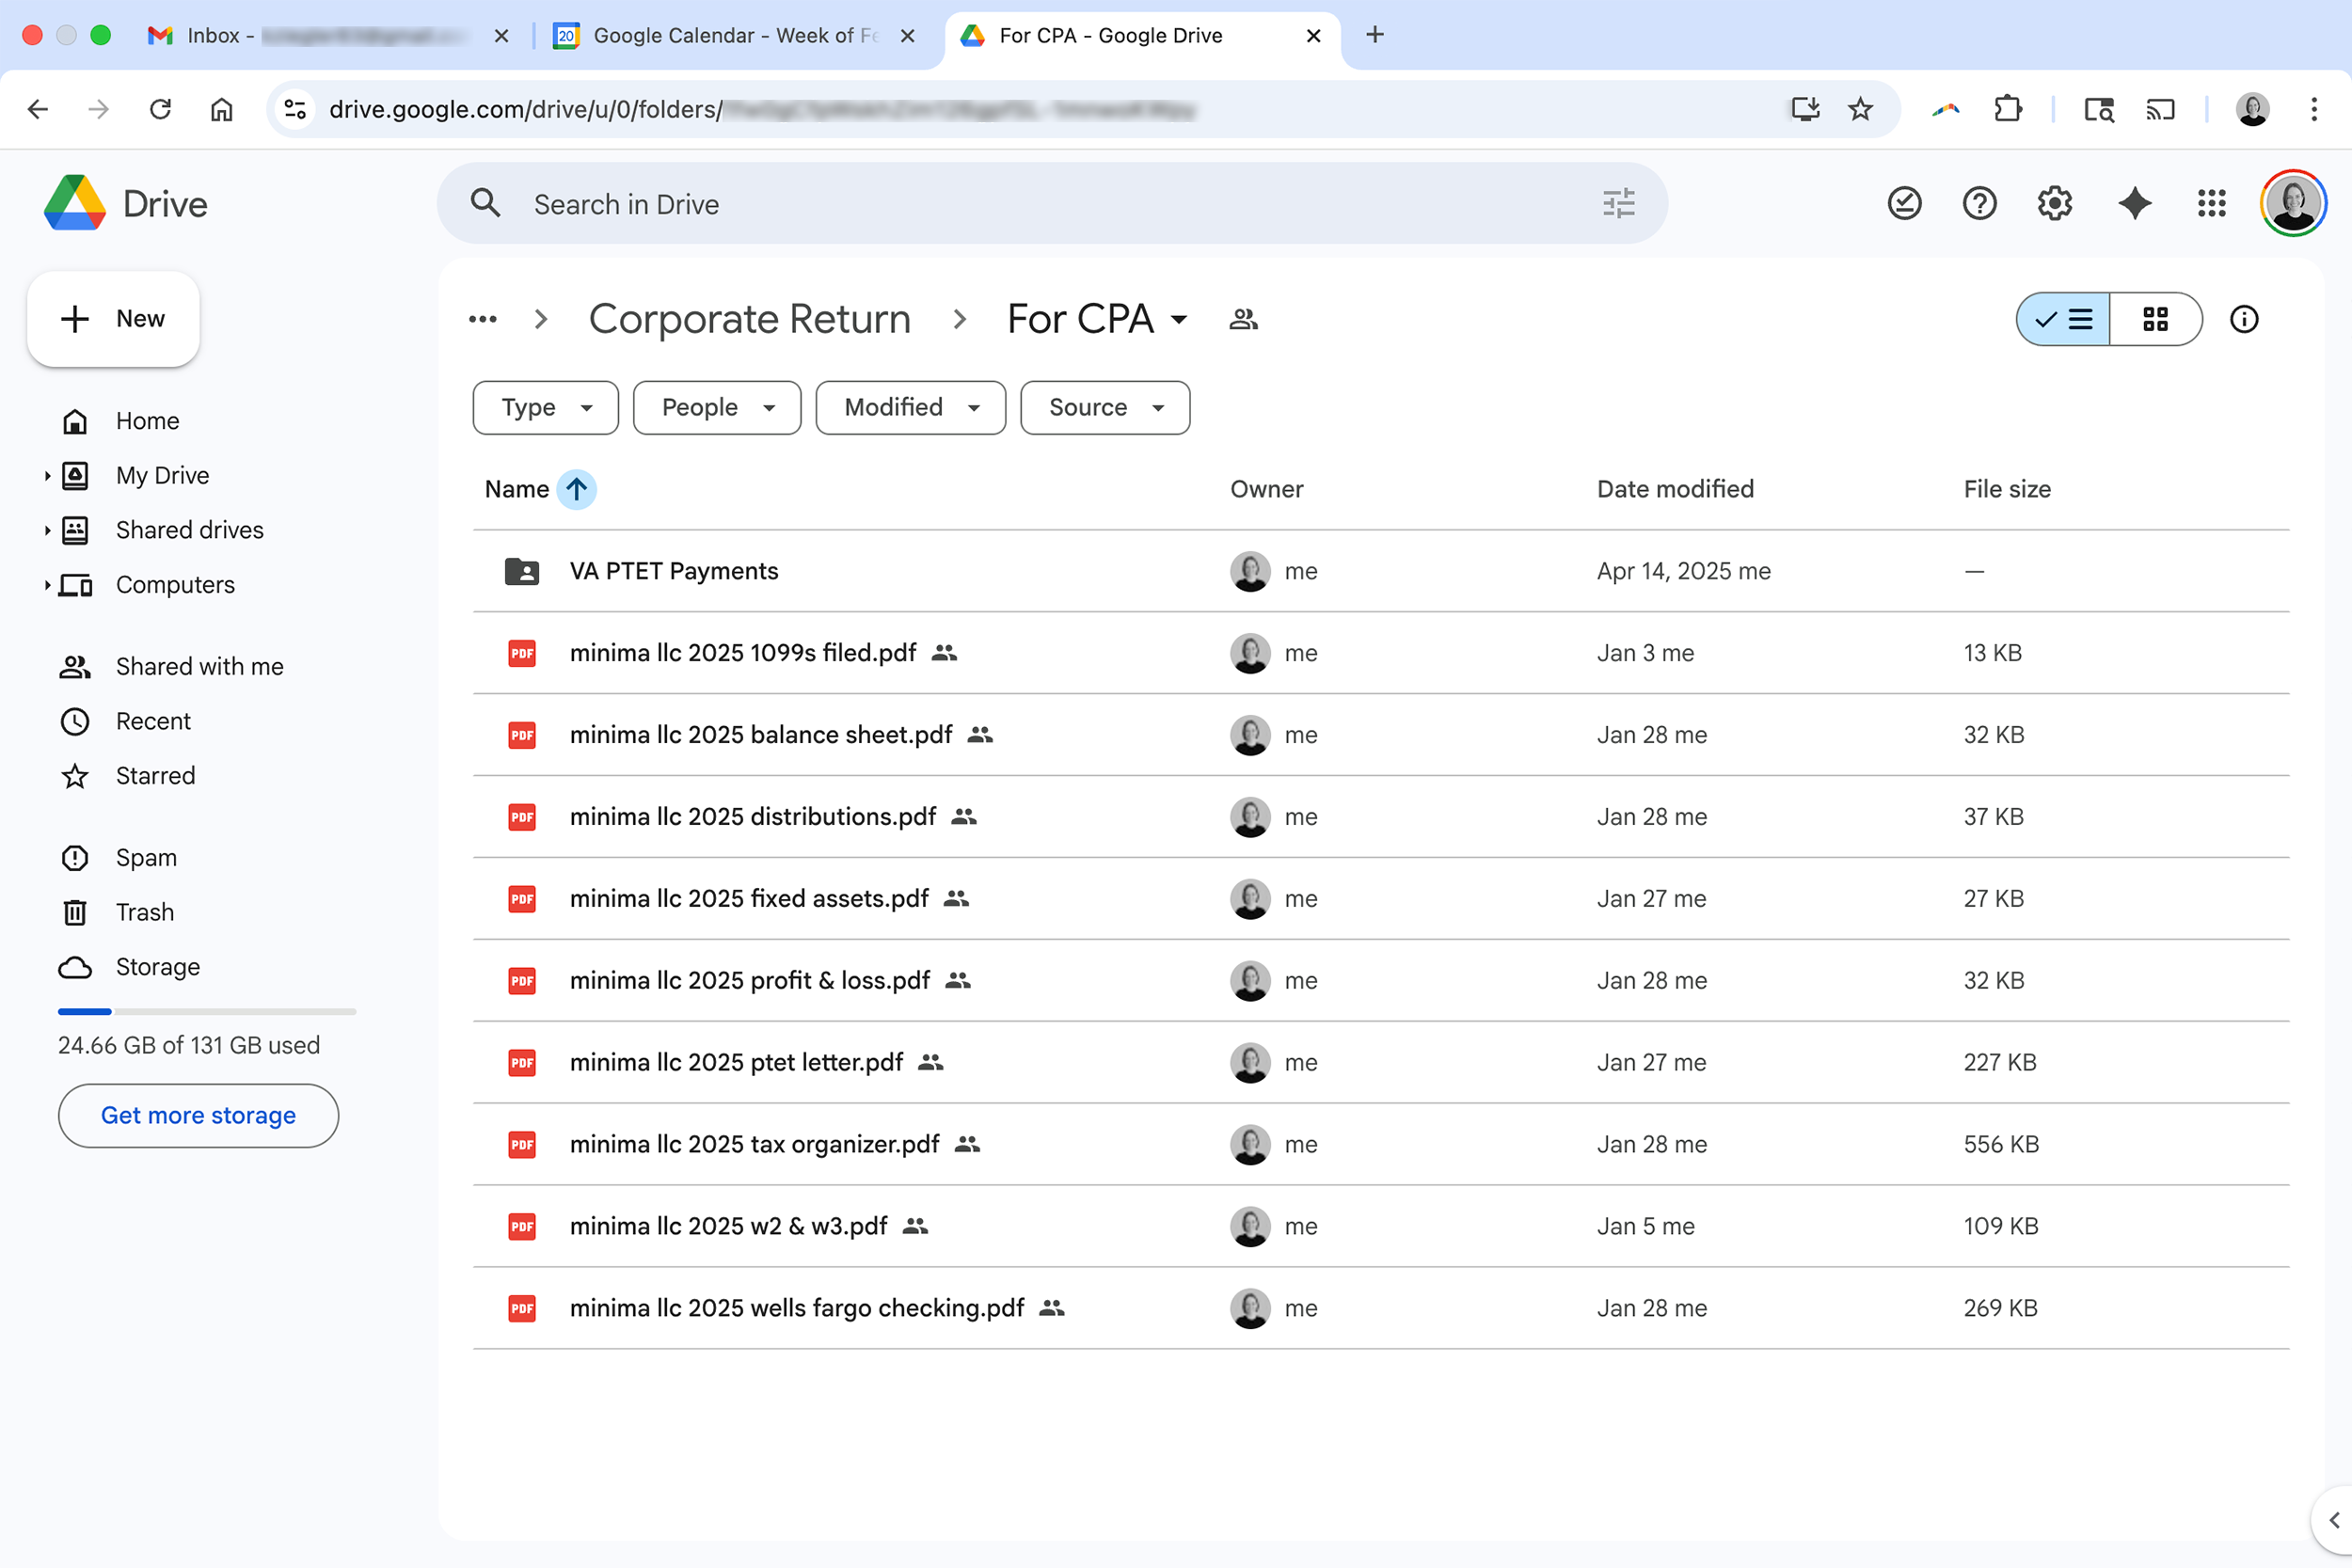
Files to share with my CPA for Minima’s 2025 corporate tax return
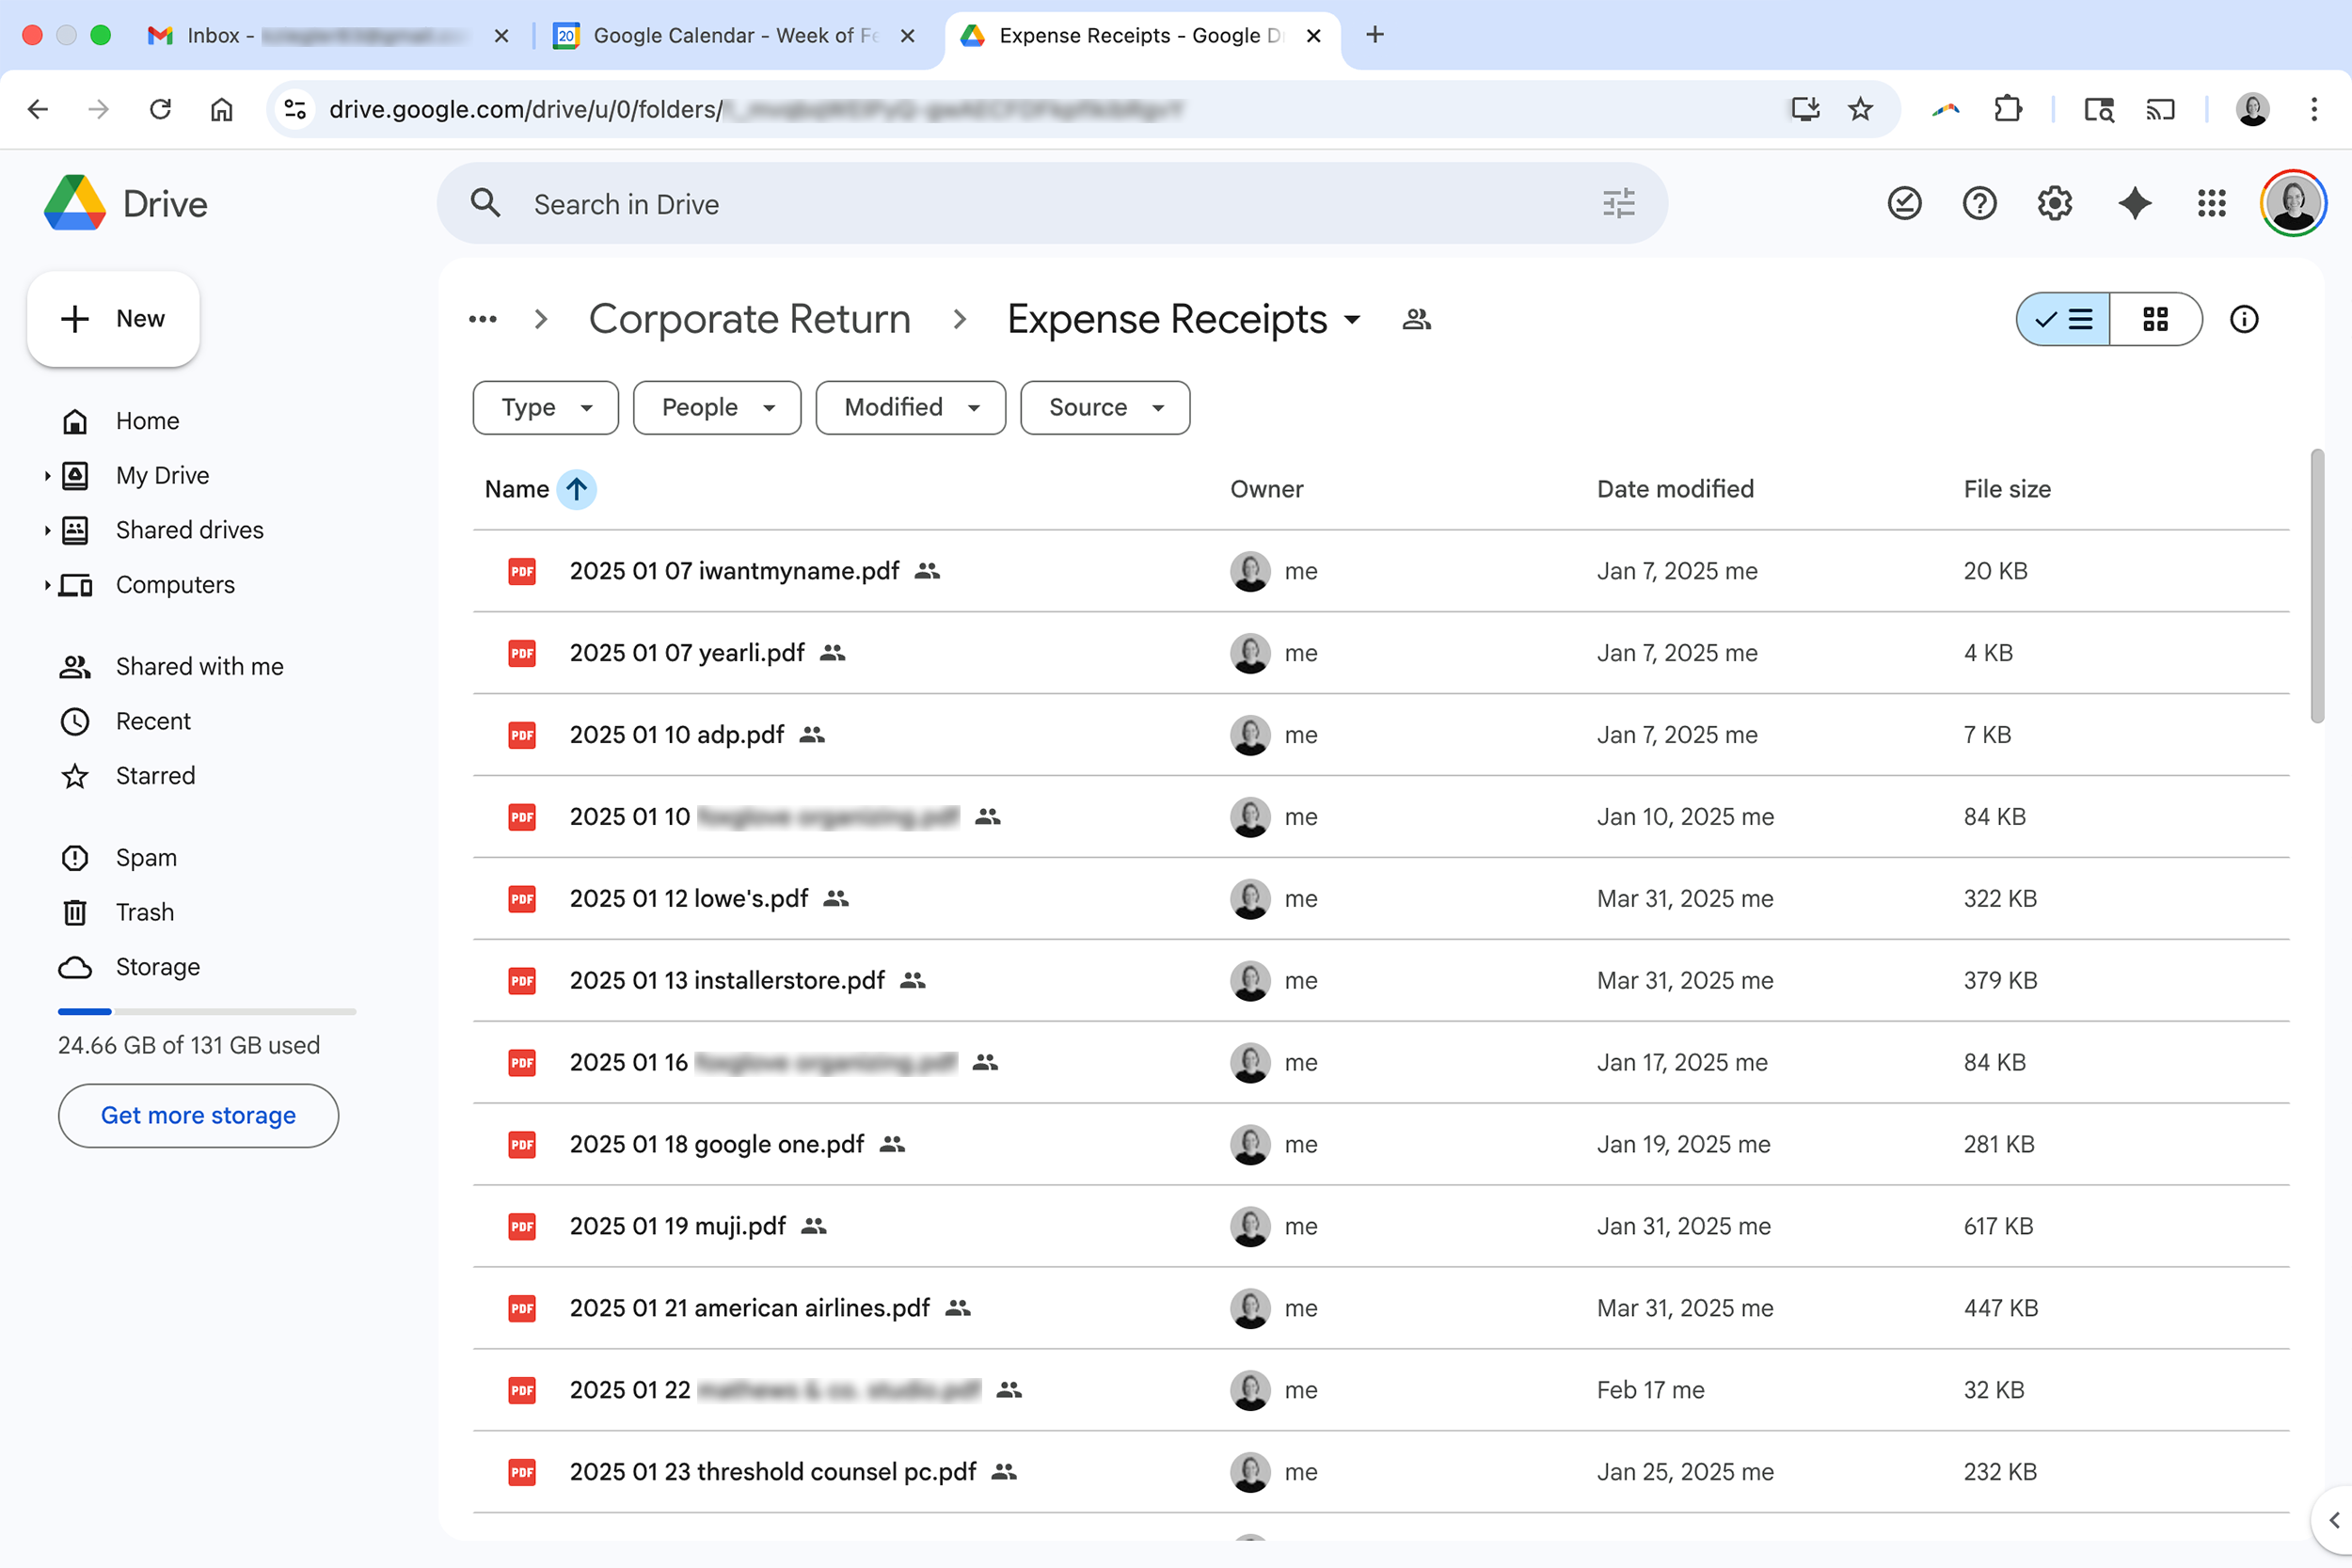
Expense receipts for Minima’s 2025 corporate tax return
Move data from email
Email is for active communication, not long-term storage. If a conversation ends but the information is important, don’t archive the email. Instead, extract the key data by downloading attachments, printing the thread to a PDF, or updating a central document. This is more efficient than searching through thousands of old threads.
I also recommend moving important digital receipts to the cloud at the end of every month. For more on this, check out “How to (Finally) Declutter and Organize Your Email.”
Setting up a simplified cloud system takes time, but it pays dividends in peace of mind. If you’d like one-on-one support, contact me via the form below. I’d love to help!